Useful Microsoft Windows 8.1 Tips & Tricks Part 2
Useful Microsoft Windows 8.1 Tips & Tricks Part 2
Welcome to the second part of Windows 8.1 tips & tricks. In this part, we learn how to: personalize the display, change lock screen background and profile picture, pin applications to the taskbar, restore libraries, and use Windows 8.1's split screen mode. Follow the instructions below and learn how to use these functions with this operating system.
Quick menu:
- How to personalize display in Windows 8.1
- How to change Lock screen background and Profile picture in Windows 8.1
- How to pin app to taskbar in Windows 8.1
- How to restore libraries in Windows 8.1
- How to use Split Screen mode in Windows 8.1
How to personalize display in Windows 8.1
If you find it difficult to see text on your Desktop screen, you can increase the font size. This will also increase the size of icons and all other visible items. Let’s get started:
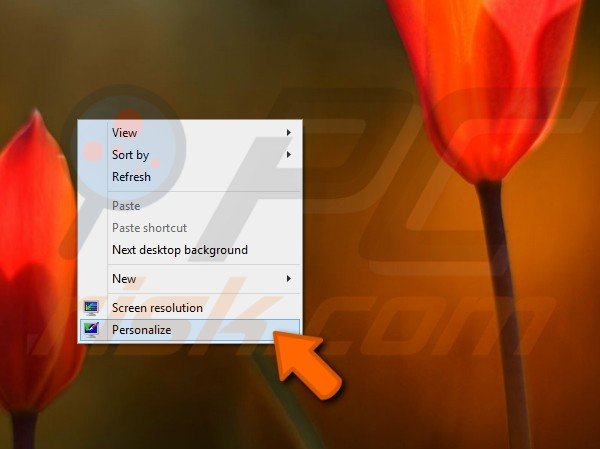
Firstly, right-click anywhere on your Desktop and then click the “Personalize” option.
A new window will then appear. Locate the “Display” option - it should be at the bottom left panel of the window.
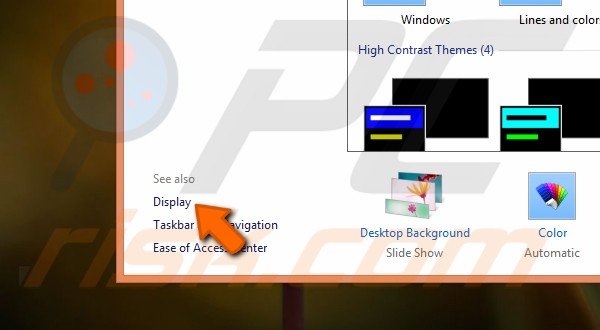
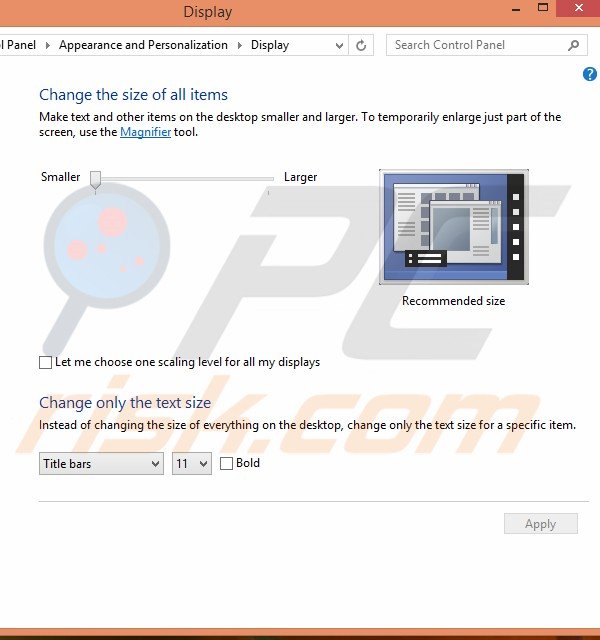
Click this and a new screen will appear. Here, you will be able to change the size of all items, including the font.
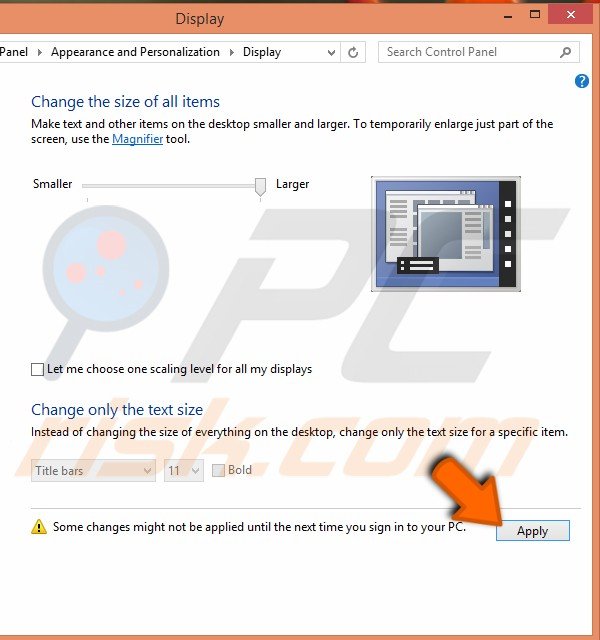
When you have chosen the correct size, simply press Apply. In order to see the changes take effect, restart your computer.
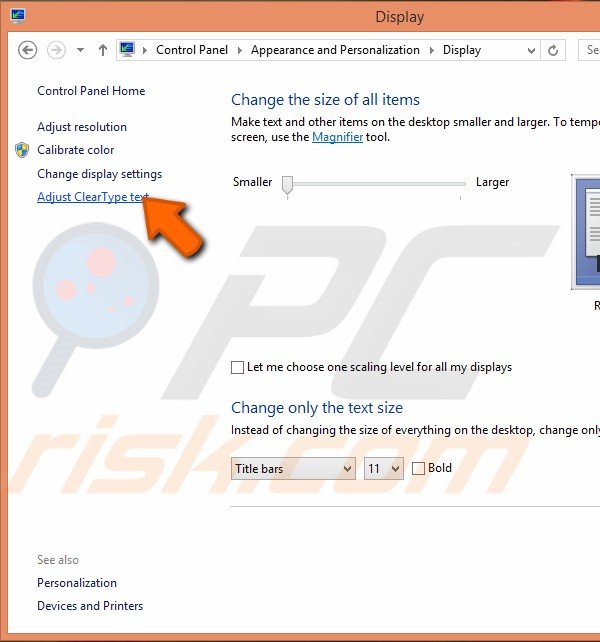
You can also change the appearance of your text on the screen. There is an option located at the upper-left side of the window called “Adjust ClearType text”. Click this option.
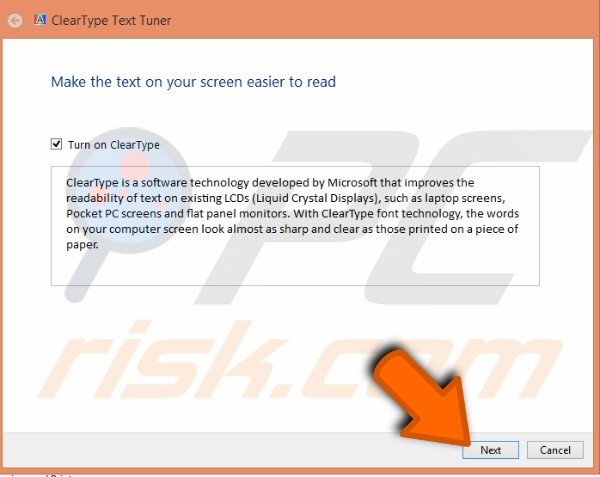
A new window will appear. Check if the “Turn on ClearType” is checked - if not, simply click it and press “Next”.
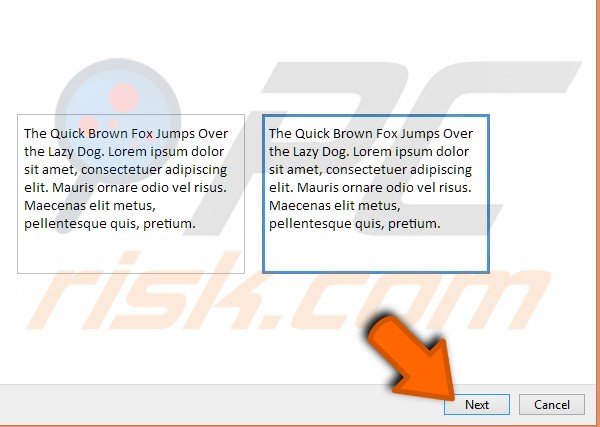
Next, blocks of text will appear. Select the ones that you prefer and click "Next". Repeat this step five times.
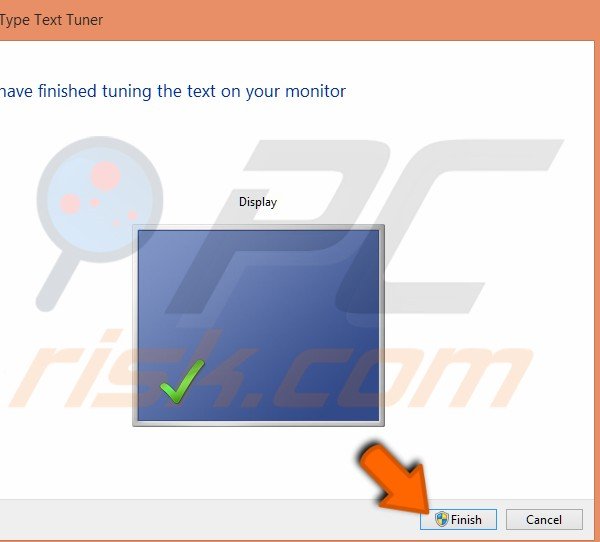
When you have finished, click the “Next” button for the last time. You will see a new screen - simple click “Finish” on this screen.
Here is a video showing how to personalize your display in Windows 8.1:
How to change Lock screen background and Profile picture in Windows 8.1
If you are bored of your default lock screen and generic profile picture, it is easy to change these to make your PC look unique. There are just a few simple steps to achieve this:
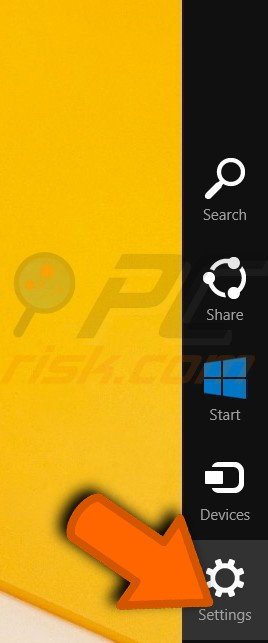
Firstly, if you are on your desktop, move your cursor to the right side of the screen to make the Charm menu appear. This can also be achieved by pressing the WIN + C combination. After the menu appears, press the lowermost option - “Settings”.
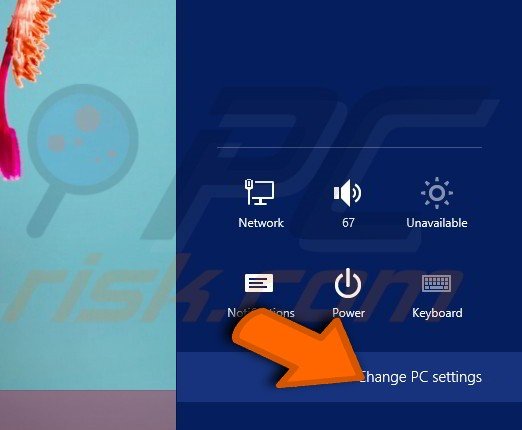
 A new display will appear with more options to choose from. Again, select the lowermost option - “Change PC settings”.
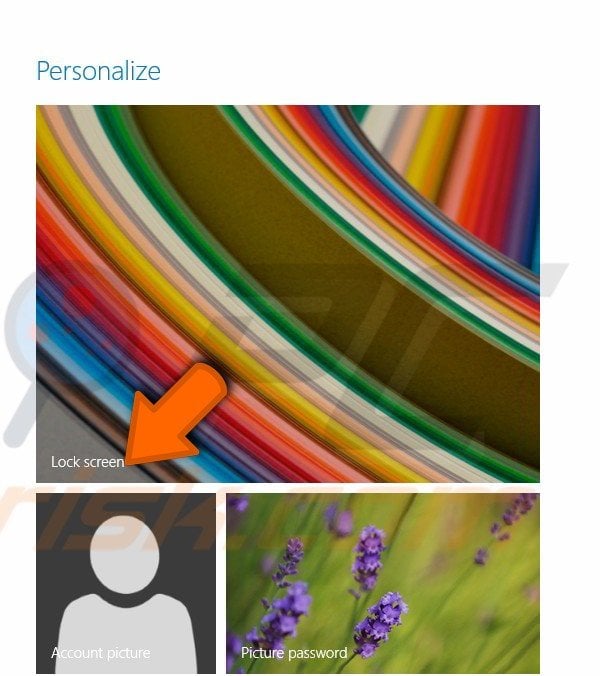
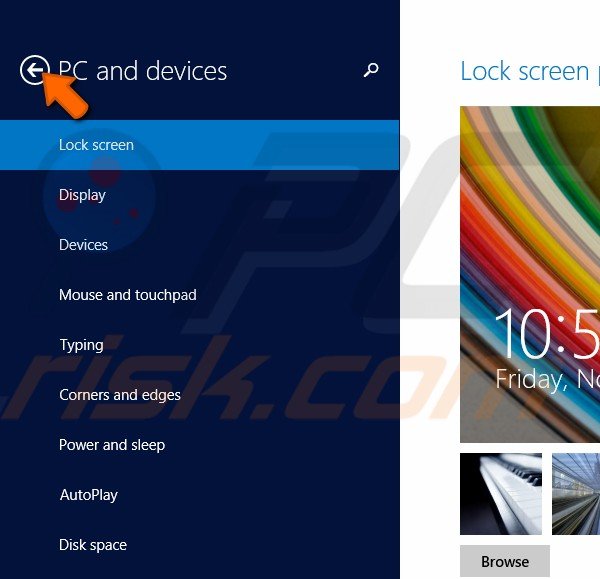
You will then be directed to a new window called “PC Settings”. Here you will see three large screens: Lock screen, Profile picture, and Picture password. Firstly, click anywhere on Lock screen.
Then, below your default lock screen background picture, you will be able to choose standard pictures provided by Windows, or you can left-click “Browse” to choose other pictures located on your computer.
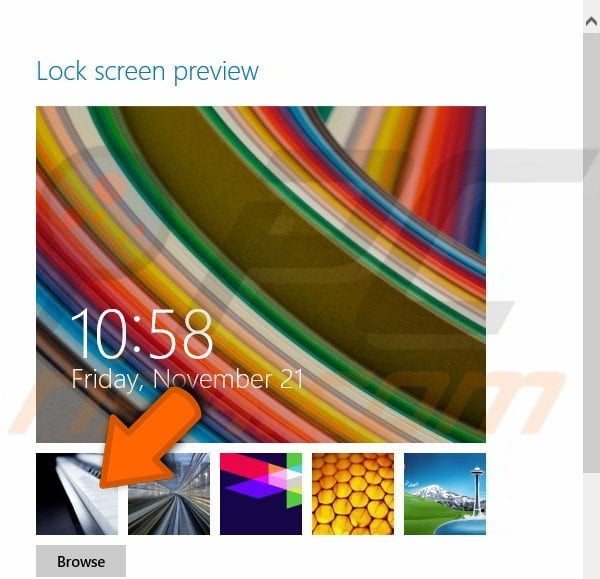
When you have completed selecting your lock screen background, click the back-arrow (located at the top-left corner of your screen) to return to the original “PC settings” screen.
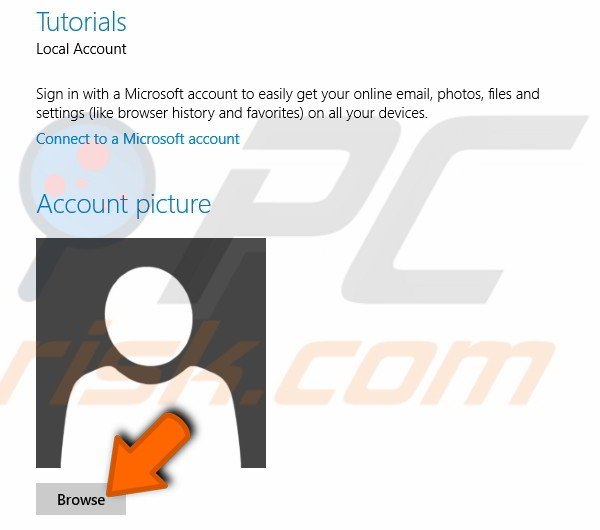
To change your profile picture, simply click the screen called “Profile picture”. You will be directed to a different display displaying your default profile picture. Below this you will see a browse button. By left-clicking the button, you can choose any picture from your computer as a profile picture.
Here is a video showing how to change the Lock screen background and Profile picture in Windows 8.1:
How to pin app to taskbar in Windows 8.1
By default, only some apps will appear in the taskbar. You can pin any app to the taskbar for faster access. Making these shortcuts is simple - just follow these steps:
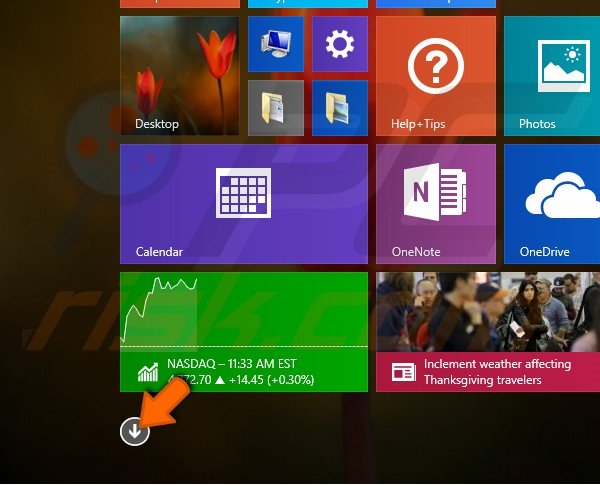
Firstly, locate the app. To do this, click the “Start” button at the bottom-left area of your desktop.

The “Start” screen will appear. Locate an arrow pointing down, which should be at the bottom-left of the apps. Click this arrow.
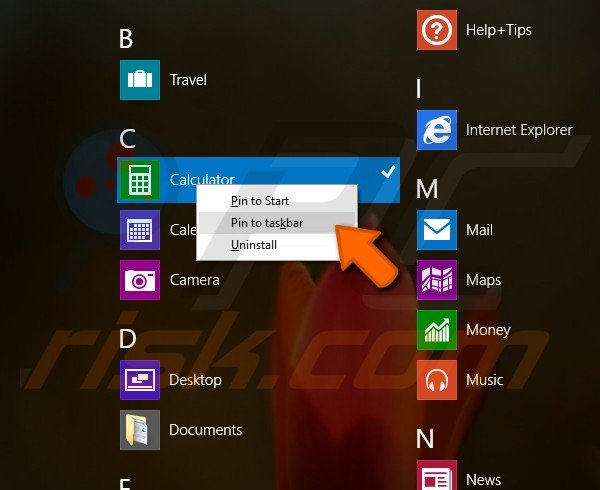
A window containing apps will appear. Select the app you require pinned to the taskbar (in this example, we chose “Calculator”).
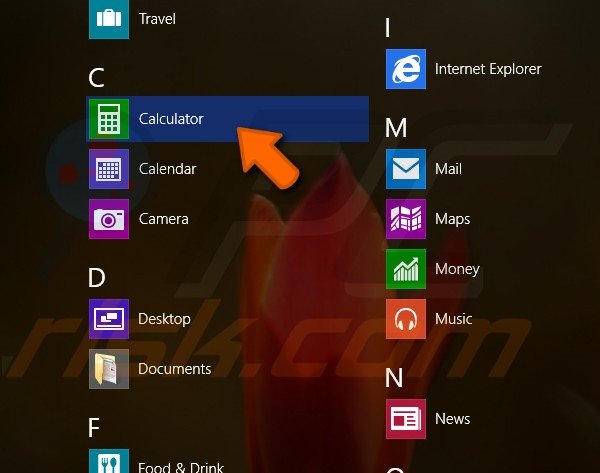
Right click on your selected app. Three options will appear. Select “Pin to taskbar” and repeat this process to pin any app to your taskbar.
Here is a video showing how to pin app to taskbar in Windows 8.1:
How to restore libraries in Windows 8.1
In Windows 7 and Windows 8, a 'Libraries folder' enabled users to find documents, pictures, music, and videos. In Windows 8.1, however, you may have noticed that the Libraries folder is hidden. But do not worry, it is easy to restore your Libraries folder.
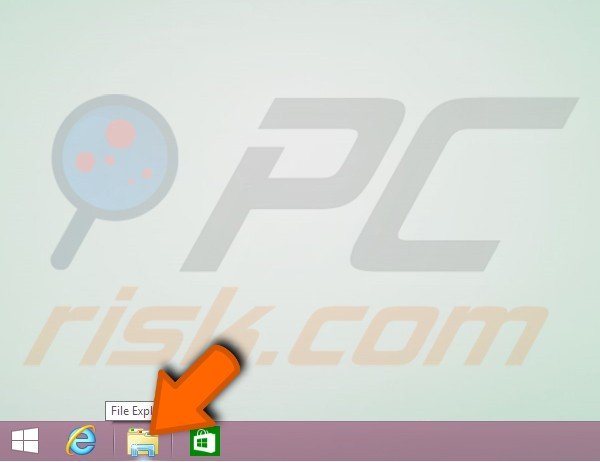
Firstly, open “Windows Explorer”, which is located at the bottom left of your screen in the taskbar.
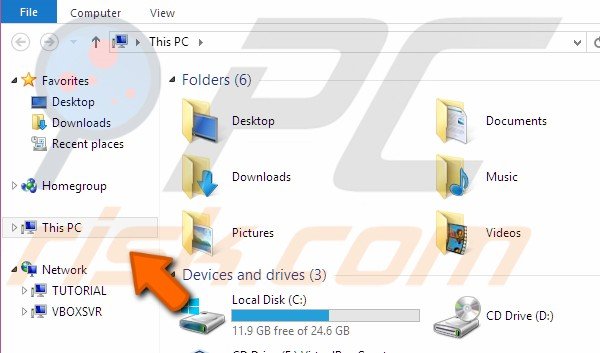
A new window will appear. On the left side, there are some folders (“Favorites”, “Homegroup”, “*Your PC name*”, and “Network”).
Move the cursor to the left and right click on empty space.
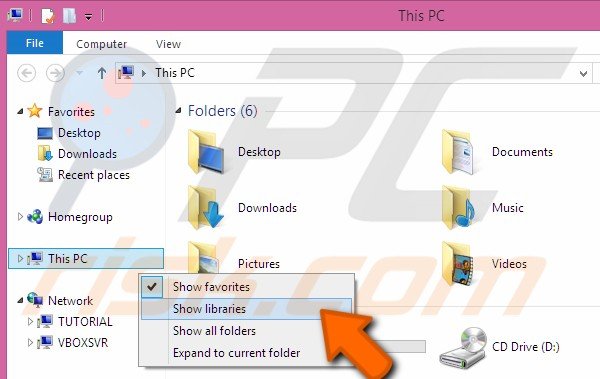
Some options will appear. From these, select only “Show libraries”.

Here is a video showing how to restore libraries in Windows 8.1:
How to use Split Screen mode in Windows 8.1
In Windows 8.1, Microsoft made some improvements to the way the OS handles multitasking via Snap View, thus allowing you to split your screen between apps. Apps can be split in ratios of 70/30, 60/40, and 50/50. On a 1080p display, you can divide your screen into three apps. For a 1366 x 768-pixel display, only two app split is supported. Here is how to use it:
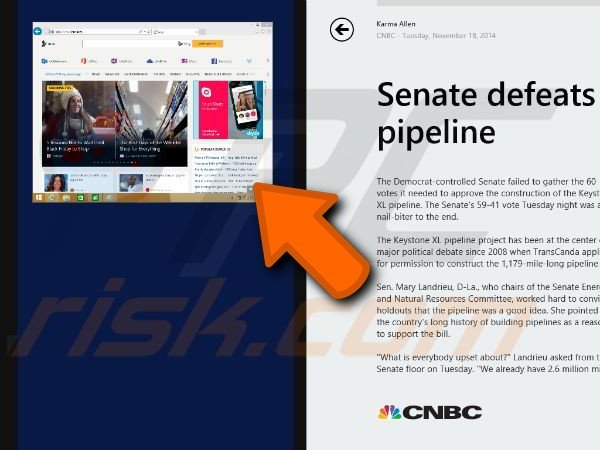
Firstly, open two applications that you wish to split. Make sure one of them is full screen. Move your cursor to the top-left corner of your screen.

You will see your second application pop-up in a small display.

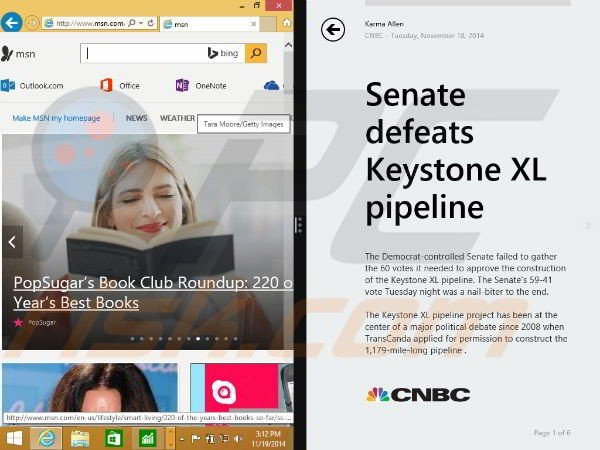
Now, simply left-click it, drag it to any blue part of your screen, and then release it.
Now, both of your applications can be seen on the same (split) screen.
Here is a video showing how to use Split Screen mode in Windows 8.1:

▼ Show Discussion