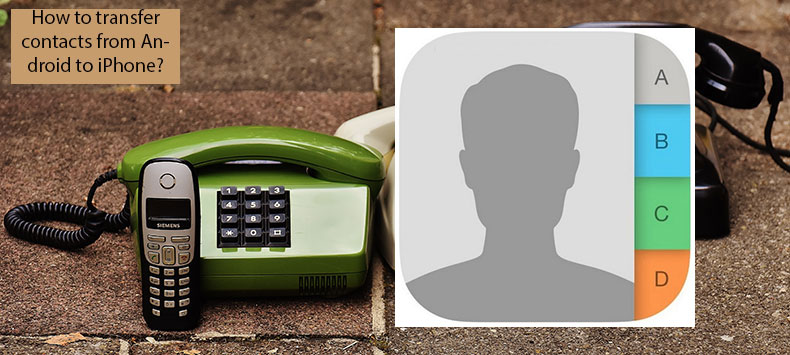
How to Transfer Contacts From Android to iPhone?
![]() Written by Karolina Peistariene on
Written by Karolina Peistariene on
How to Transfer Contacts and Media Content From Android Device to iPhone or iPad?
While contact lists usually store digital SIM card names and numbers, some devices contain options to store email addresses. Furthermore, applications (such as What's up or Viber) also store contact names. In these cases, copying contacts from one device to another can become a very time-consuming task.
Fortunately, today there are many applications and functional cloud storage available. So users can synchronize their contacts and media content by connecting to a network.
Besides Google storage features, Apple has released an Android application called Move to iOS to make media content and contacts transfer easier. This particular application allows connectivity between an Android device and an iPhone through a Wi-Fi network.
This article explains how to use Apple's Move to iOS application and some alternative methods that can be used to transfer your contacts and media content between Android and iOS devices.
Table of Contents:
- Introduction
- Transfer content and contacts via Apple's Move to iOS app
- Transfer your contacts from Android to an iOS device through Google Account
- Import contacts from SIM on your iPhone
- Transfer apps between Android and iOS devices
- Transfer photos & videos from Android to iPhone
- Transfer music content from Android to iPhone
Transfer content and contacts via Apple's Move to iOS app
First, we look at the potential of the Android application developed by Apple. This helpful software wirelessly moves contacts, message history, camera photos, and videos, web bookmarks, mail accounts, calendars, wallpaper, songs, and books from an Android device to any iOS device running on version 9 or later.
Additionally, this program will suggest that you add any free apps on Android and those existing in the App store. You must pay for paid apps again to get the iOS version (they will be added to your wish list in the App Store).
To move your content and contacts, you must set up your new iDevice. Follow the on-screen instructions until you reach the Apps & Data dialog.
1. Tap Move Data from Android. The following steps are to install the Move to iOS application on the Android device. This software is free and available in Google Play Store.
2. Once the installation process finishes, launch the app and tap Continue on both the Android and iOS devices.
3. On your Android phone, tap Agree and then Next. Then enter the 12-digit code displayed on your iDevice. Once the code is entered correctly, devices will connect via a peer-to-peer Wi-Fi connection.
4. Next, the Android device will ask you to choose what type of content you wish to transfer, such as Google Account information, Chrome bookmarks, text messages, contacts, and photos and videos taken with your camera. Select the content you require on your new iDevice and tap Next. The application will transfer the data automatically into the appropriate apps.
5. Once the process finishes, devices will disconnect. The Move to iOS app will suggest that you bring your old Android device to an Apple Store, where it will be recycled free of charge.
6. Finally, tap Continue Setting Up iDevice and follow the on-screen instructions where you will be asked to log in with your Apple ID or Sign up if you do not have an existing ID. When the iDevice is completed setup, it will prompt you to log in with all Google accounts you have transferred.
Transfer your contacts from Android to an iOS device through Google Account
To move your contacts from an Android device to iPhone or iPad, there are two easy steps. If you have owned an Android for a long time, we recommend following the steps in the order described.
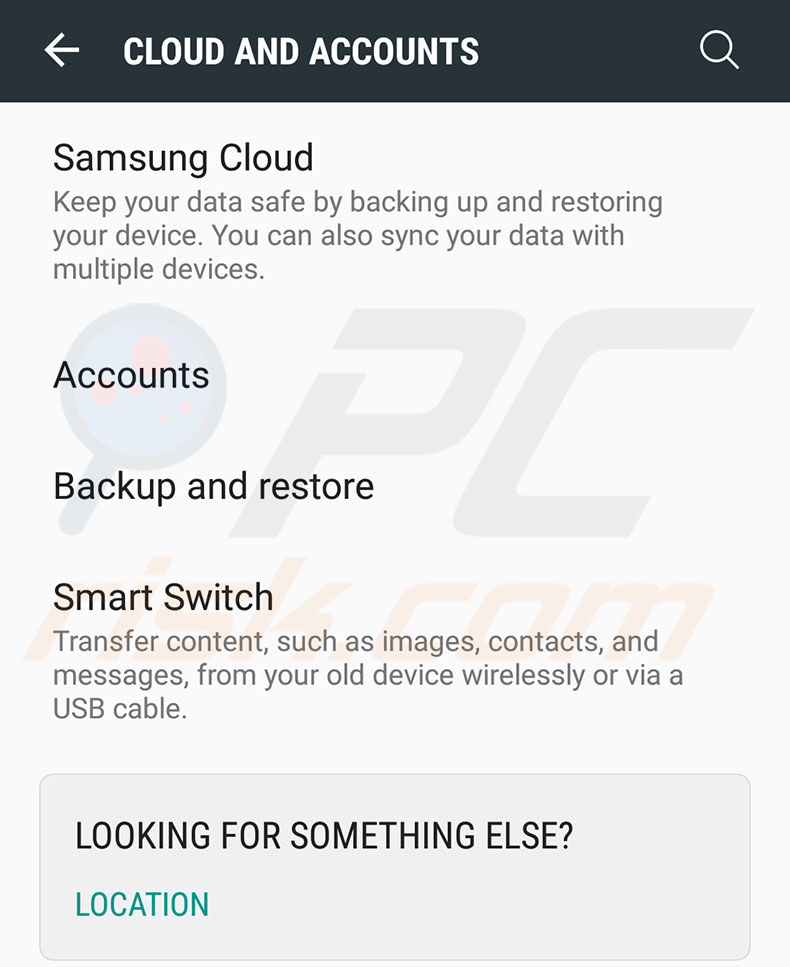
1. First, ensure you have backed up your Android content and then open Settings.
2. Look for Accounts and Sync or similar (the title might have many different variations since there are a number of Android OS versions - it might also differ for each manufacturer.)
3. The device will request that you sign in with a Google account. The synchronization option will then appear. Enable this feature so that your contacts are reachable via your Google account.
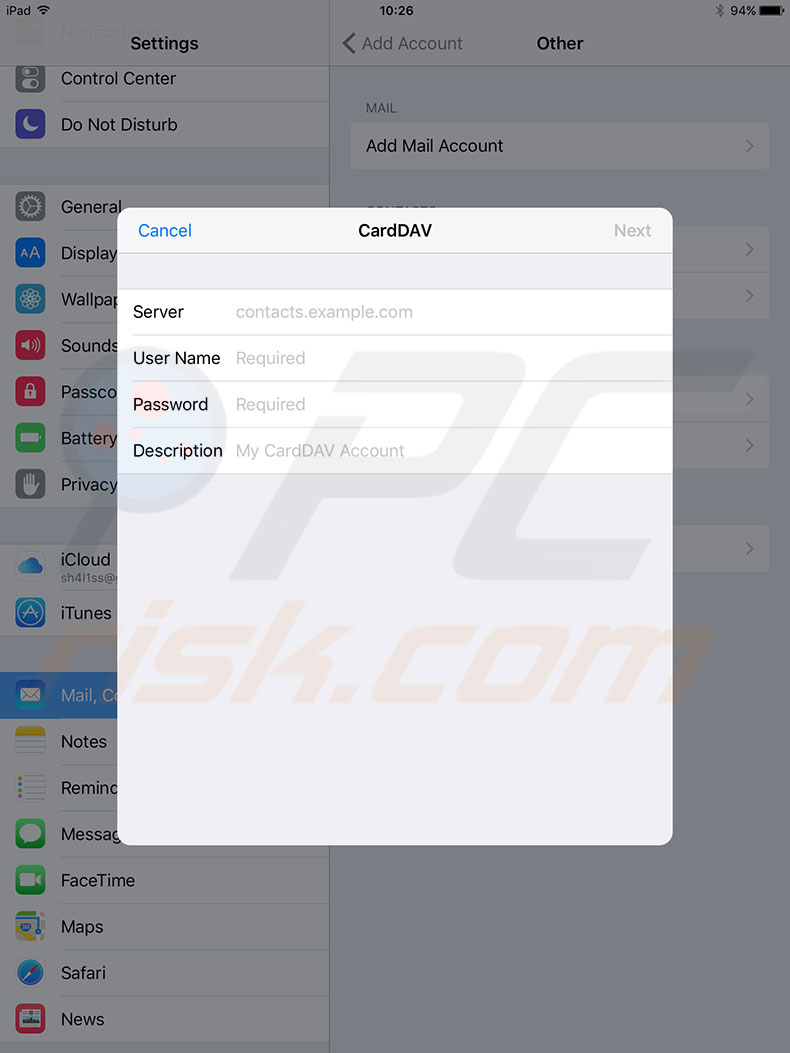
4. The next step is to import contacts on your iPhone or iPad. Go to the iDevice's Settings and select Accounts & Passwords (it might be Mail, Contacts, Calendars on earlier versions of iOS).
5. Then, choose Add Account and tap Other.
6. Select the option Add CardDAV Account.
7. Complete the account information form by following the example:
Server: Type "google.com"
User Name: Type your full Google Account email address.
Password: Password of your Google Account (the email address you previously entered).
8. When the form is complete, tap Next at the top of the screen and ensure that the Contacts option is enabled.
9. Once the setup process is complete, launch the Contacts app on your iDevice. Syncing will start automatically. This step is useful when setting up any smartphone.
Import contacts from SIM on your iPhone
Coming back to basics, moving contacts together with a SIM card is the oldest method since this method predates smartphones. All phones used the same default size SIM card, whereas today, there are several SIM formats such as mini and nano. If you decide to destroy the card, ensure that you have backed-up all contacts.
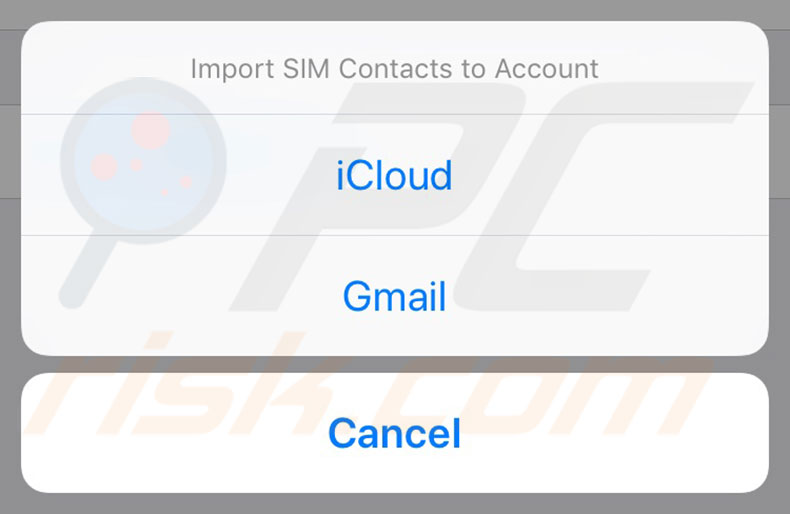
1. Copy all contacts from the Android device to the SIM card, and then insert the card into your iPhone.
2. Finally, once the SIM is fully recognized on the iPhone, go to Settings, choose Contacts (or Mail, Contacts, Calendars in earlier versions of iOS), and tap on Import SIM Contacts.
Transfer apps between Android and iOS devices
Unfortunately, there is no straightforward way to transfer applications since the operating systems are entirely different. Furthermore, software purchased on Android will remain on Android only - if you require the same app on an iOS device, you must pay again.
Fortunately, many developers release their apps in several versions, including those for Android and iPhones. In-app purchases and apps based on user accounts and login details will hopefully remain. For new iOS users, we recommend that you search for free alternative apps in the App Store.
Transfer photos & videos from Android to iPhone
Since both operating systems support various image and video formats, moving media files is not usually problematic. There are a number of ways to move them.
First, explore Google Play and Apple stores by searching for an app that offers a media transfer function. Some examples are Copy My Data and PhotoSync. Another way is to use your computer rather than third-party software. Most Android devices provide an option to use them as external storage drives.
1. To transfer media files, simply connect them to a computer, explore the storage and copy the preferred media files to your computer hard drive.
2. You must then use iTunes on the computer to sync photos from its drive to your iPhone or iPad. Once you have moved your media content from Android to a computer, connect your iDevice and launch iTunes.
3. Click on the small device logo on the left side.
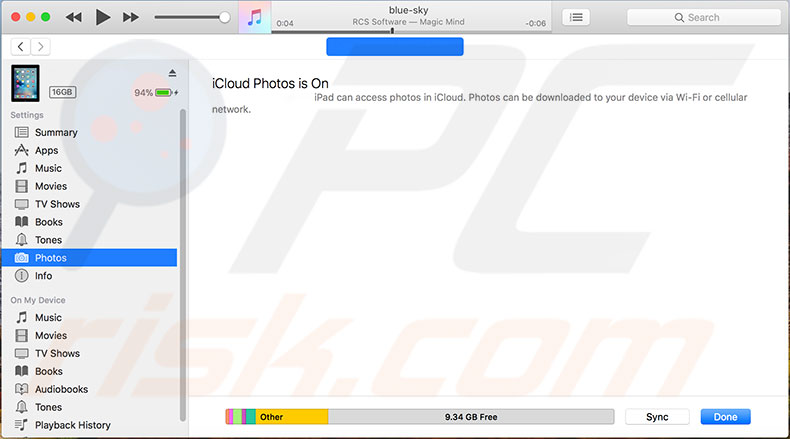
4. In the iPhone or iPad storage, choose Photos, enable Sync Photos from, and choose the destination where you placed your media content and click Apply. All photos will be imported to your iDevice automatically.
Transfer music content from Android to iPhone
To move music files from an Android device to an iPhone or iPad, you must use a similar method to transferring photos and videos. First, transfer all music to the computer with installed iTunes software. Since most Android devices are mounted as an external drive, this task is simple.
1. Connect the Android device to your computer and explore the phone's storage.
2. When you have found the music folder, copy it (or just preferred files) to your computer.
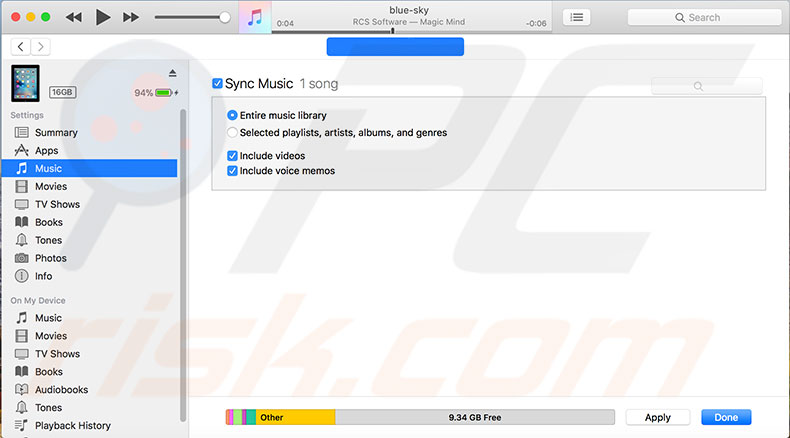
3. Once you have moved all music from the Android device to the computer, launch the iTunes app. Click the Library tab and select Music.
4. Now, open the folder where you stored the music from your Android device, choose preferred items, and drag them to the Music folder in iTunes.
5. When you have imported all your favorite music into the iTunes library, connect the iPhone or iPad to the computer, open the program again and click on the small device icon on the top left side.
6. Then, select the Music section. Here, you can choose between syncing the entire library, selected songs, or artist.
7. Make your selection and then click Sync. When the process is complete, your music will be imported to your iPhone or iPad.
To use songs as ringtones on your iPhone, follow this guide.

▼ Show Discussion